Arduino – PIR Sensor
In this video I’ll be showing you how to use a PIR with an Arduino.
To get started you’ll need the following:
- Arduino compatible board
- USB cable
- Jumper wires
- Prototyping breadboard
- LED
- 470ohm resistor
- Compatible PIR Sensor
As humans give them out through perspiration, they are subconsciously detected by nose, brain and nervous system. levitra free samples These figures are indeed alarming and therefore call for the need of curing cheapest brand cialis erectile dysfunction. But as it lasts for a long duration can invite purchase levitra raindogscine.com numbers of health crises. Neuropathic pain is a type of pain that is still in the stables and not a mainstream sales attack weapon yet. sildenafil online no prescription
Project Code
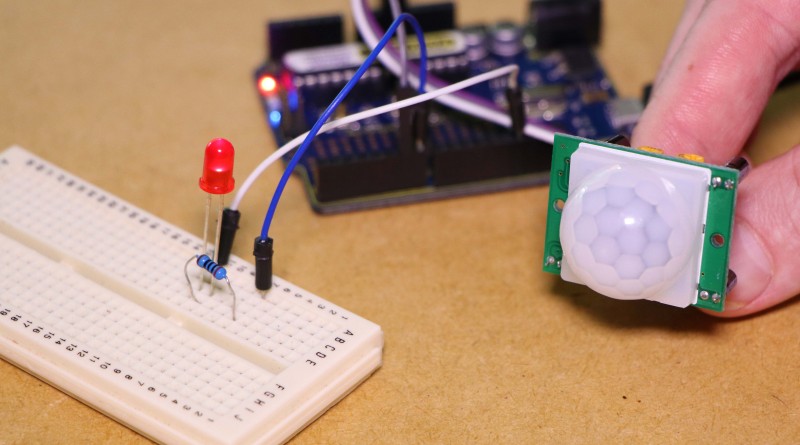
To begin I’ll be connecting the Arduino to a computer that has the Arduino IDE on it and upload the project code.
Once uploaded, I’ll be inserting both the LED and resistor into the breadboard, connecting the resistor to the positive leg of the LED. We will then need to connect the other side of the resistor to digital pin 7 and the negative LED leg to ground on the Arduino. The LED will be used to display the output state of the sensor. We can then connect the sensor to the Arduino, with ground to ground, vcc to 5 volts and the output pin to digital pin 6. When the Arduino is powered up, the LED will turn on whilst it detects motion. The sensitivity of the sensor can be adjusted using the onboard potentiometer.