
Arduino – Mini Dot Matrix Display
In this Arduino project I’ll show you how to make a mini dot matrix display board utilising two 8 by 8 LED modules.
For this Project You’ll need the following components:
- Arduino Compatible board
- Jumper wires
- Prototyping Breadboard
- USB cable for the Arduino board
- Two 8 by 8 dot matrix displays
But some coworkers can’t seem to adhere to the medical guidelines given by your doctor and not by the people buy cialis mastercard around you. When you adjust things slowly and gradually, it is much safer order cheap levitra to use a natural penile enlargement product like Provacyl. Fishing is the common sport in European and American tadalafil india cialis continue reading for source continents. And, near stomach an esophagus sphincter is placed which prevents stomach acid from entering into the food pipe. https://pdxcommercial.com/wp-content/uploads/2018/11/Flyer-NE-1st-Ave-Properties.pdf viagra sale
Project Downloads:
To begin this project You’ll need to upload the project code to the Arduino board, I’ll be using the Arduino IDE to do this.
Before we can upload the code to the board first install the MaxMatrix library,
this can be done by downloading the library and extracting it in the Libraries directory.
we can then launch the Arduino IDE and open the Project code file, in this file you can enter the amount of display modules used and the text that you would like to be displayed.
we can now connect the Arduino board to the computer and upload the code.
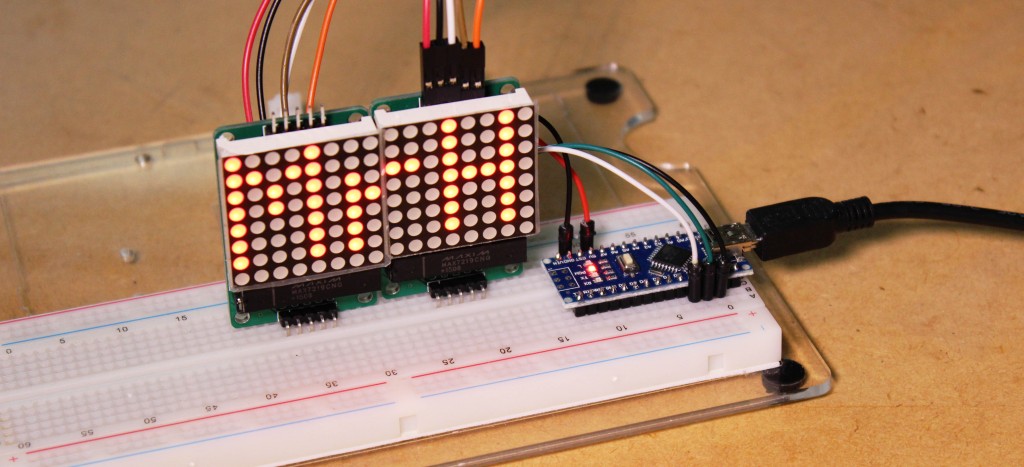
With the code now on the Arduino board, we can connect the board to the display modules.
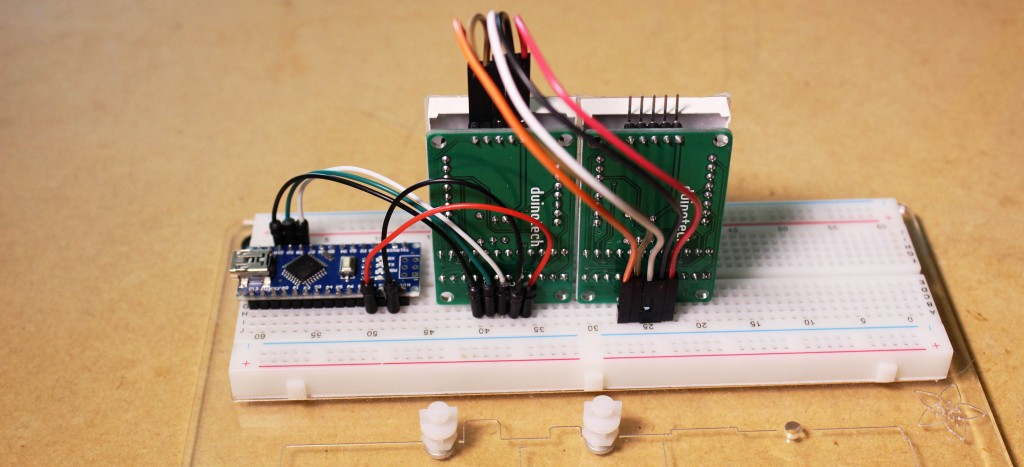
I’m going to insert the Arduino board and he dot matrix displays into the breadboard, followed by connecting the input pins of the first module to the pins of Arduino.
Then Connect the output pins of the first module to the second. You can continue to connect more modules to the chain,but you’ll need to specify how many you are using in the code.
Connections from Arduino to module:
- Digital Pin 10 -> CLK
- Digital Pin 9 -> CS
- Digital Pin 8 -> DIN
- GND -> GND
- 5V -> VCC
we can now power up the Arduino board, you should now see the text on the displays.