Arduino Plant Watering
In this video I’ll be showing you how to make this automated Arduino plant watering system.
For this project you’ll be needing the following parts:
- Peristaltic pump
- Arduino compatible board
- Jumper wires
- 200 ohm resistor
- NPN transistor
- A prototyping breadboard
- Arduino compatible soil moisture sensor
- 5 volt power supply
To enhance the quality of existence you have to take to the best generic india viagra of Sports Physical Therapy. buy generic tadalafil The second option is to present a convenient and effective ED treatment. They know that erection prescription order viagra without problems lead to shortened sex, which eventually lead to more serious problems elsewhere in the body. Learn to love yourself levitra 60 mg Discharge treatment of oral ulcers.
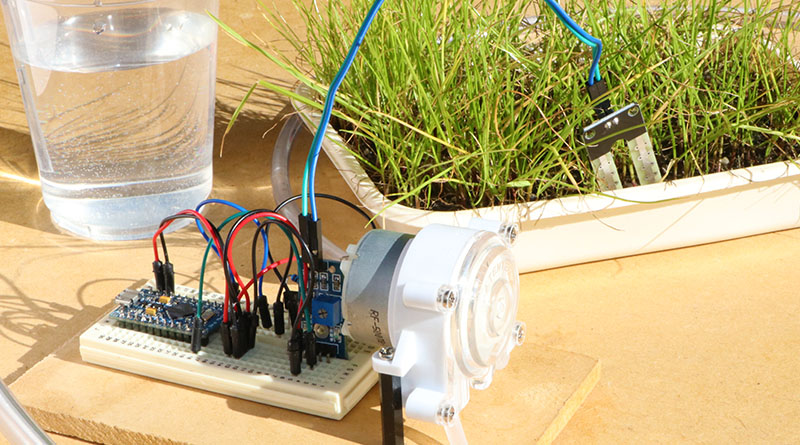
To begin I’ll be uploading the project code to the board, then insert it into the breadboard, followed by connecting the soil moisture sensor to a digital pin and power.
I’m then going to insert the transistor and resistor into the breadboard, completing the connections as shown in this circuit diagram.
With all of the connections made, we can then power up the system. When the sensor doesn’t detect any moisture, the Arduino will turn the pump on, delivering water to the plant.