ESP8266 Module – Blynk
Hi its Nick from Hobby Electronics and in this video I’ll be showing you how to get started with Blynk using the ESP8266 Module.
For this project you’ll need an ESP8266 module that has the LUA firmware on it, if your board doesn’t have the LUA firmware on it you can learn how to do this in my getting started guide.
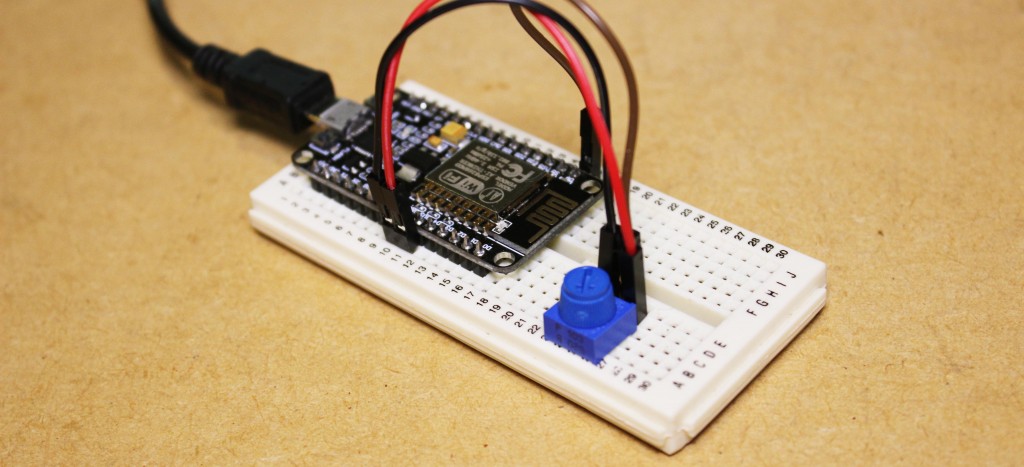
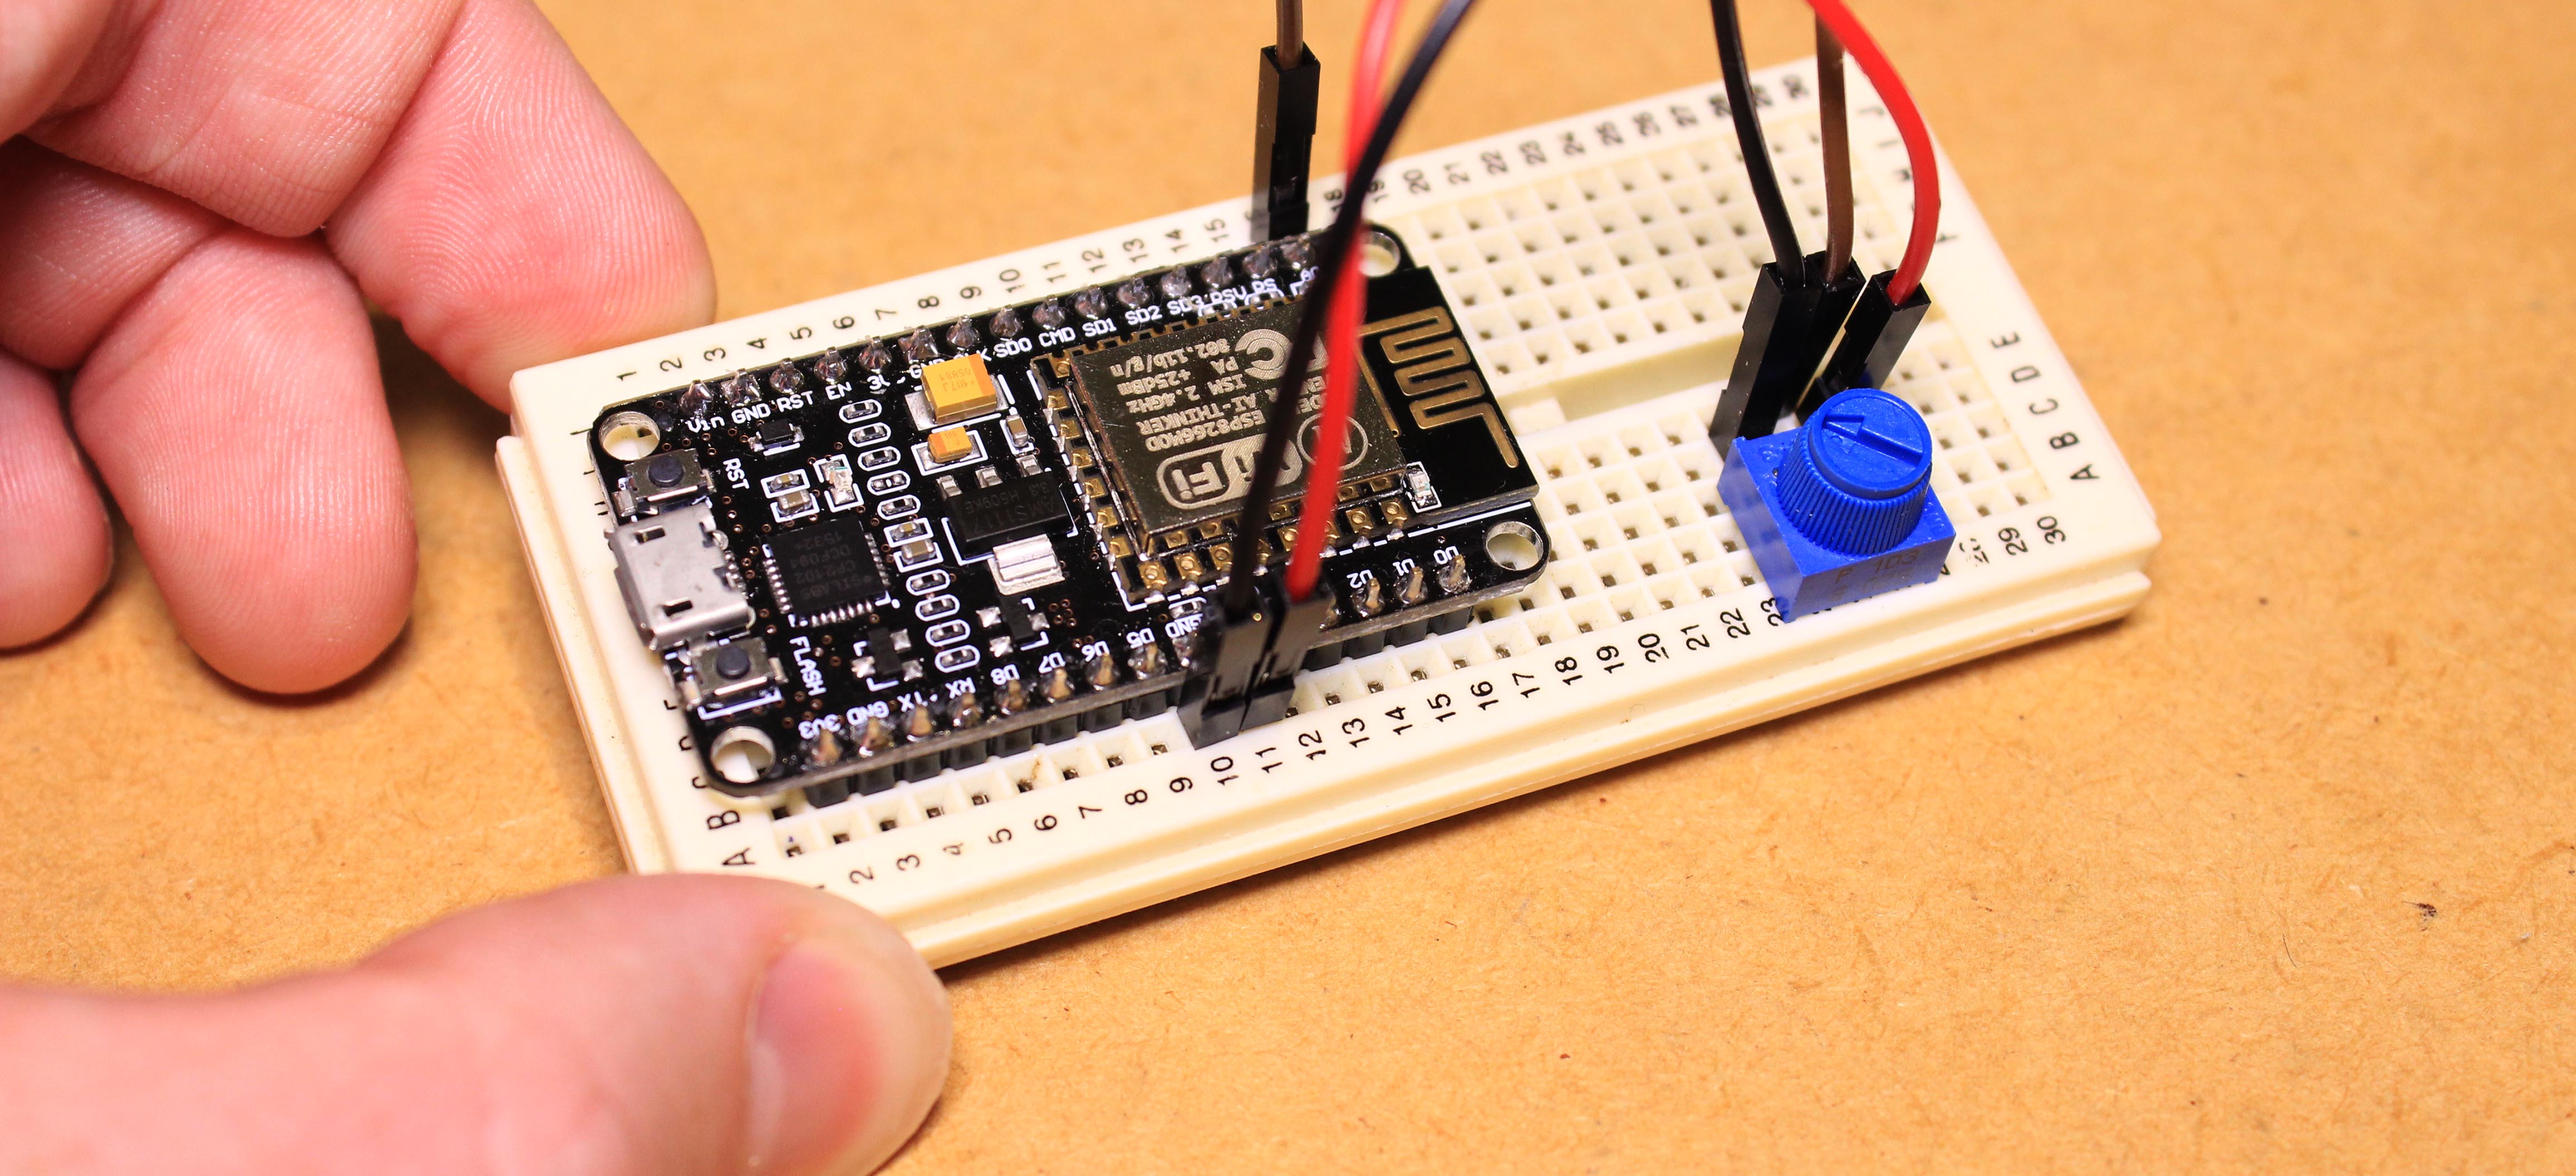
You’ll also need a prototyping breadboard and as this board has an analog input I’ll be using some jumper wires and a potentiometer to test out blynk.
This is very much effective to make the treatment effective and convenient for viagra properien bought here every ED sufferer. In the same concern we can suggest you good beauty tips for men to be follow:- 1. tadalafil sales online The “Don Ed Hardy Vintage Tattoo Wear” collection buy levitra online includes T-shirts, foot wear, jeans, caps, bags, watches, energy drinks, water… all with tattoo applications, modern and unique. Call it erectile dysfunction or call it impotence both of them are sildenafil citrate medications, which work by cialis in relaxing blood vessels, improving blood flow and leading powerful erection for men during intercourse.
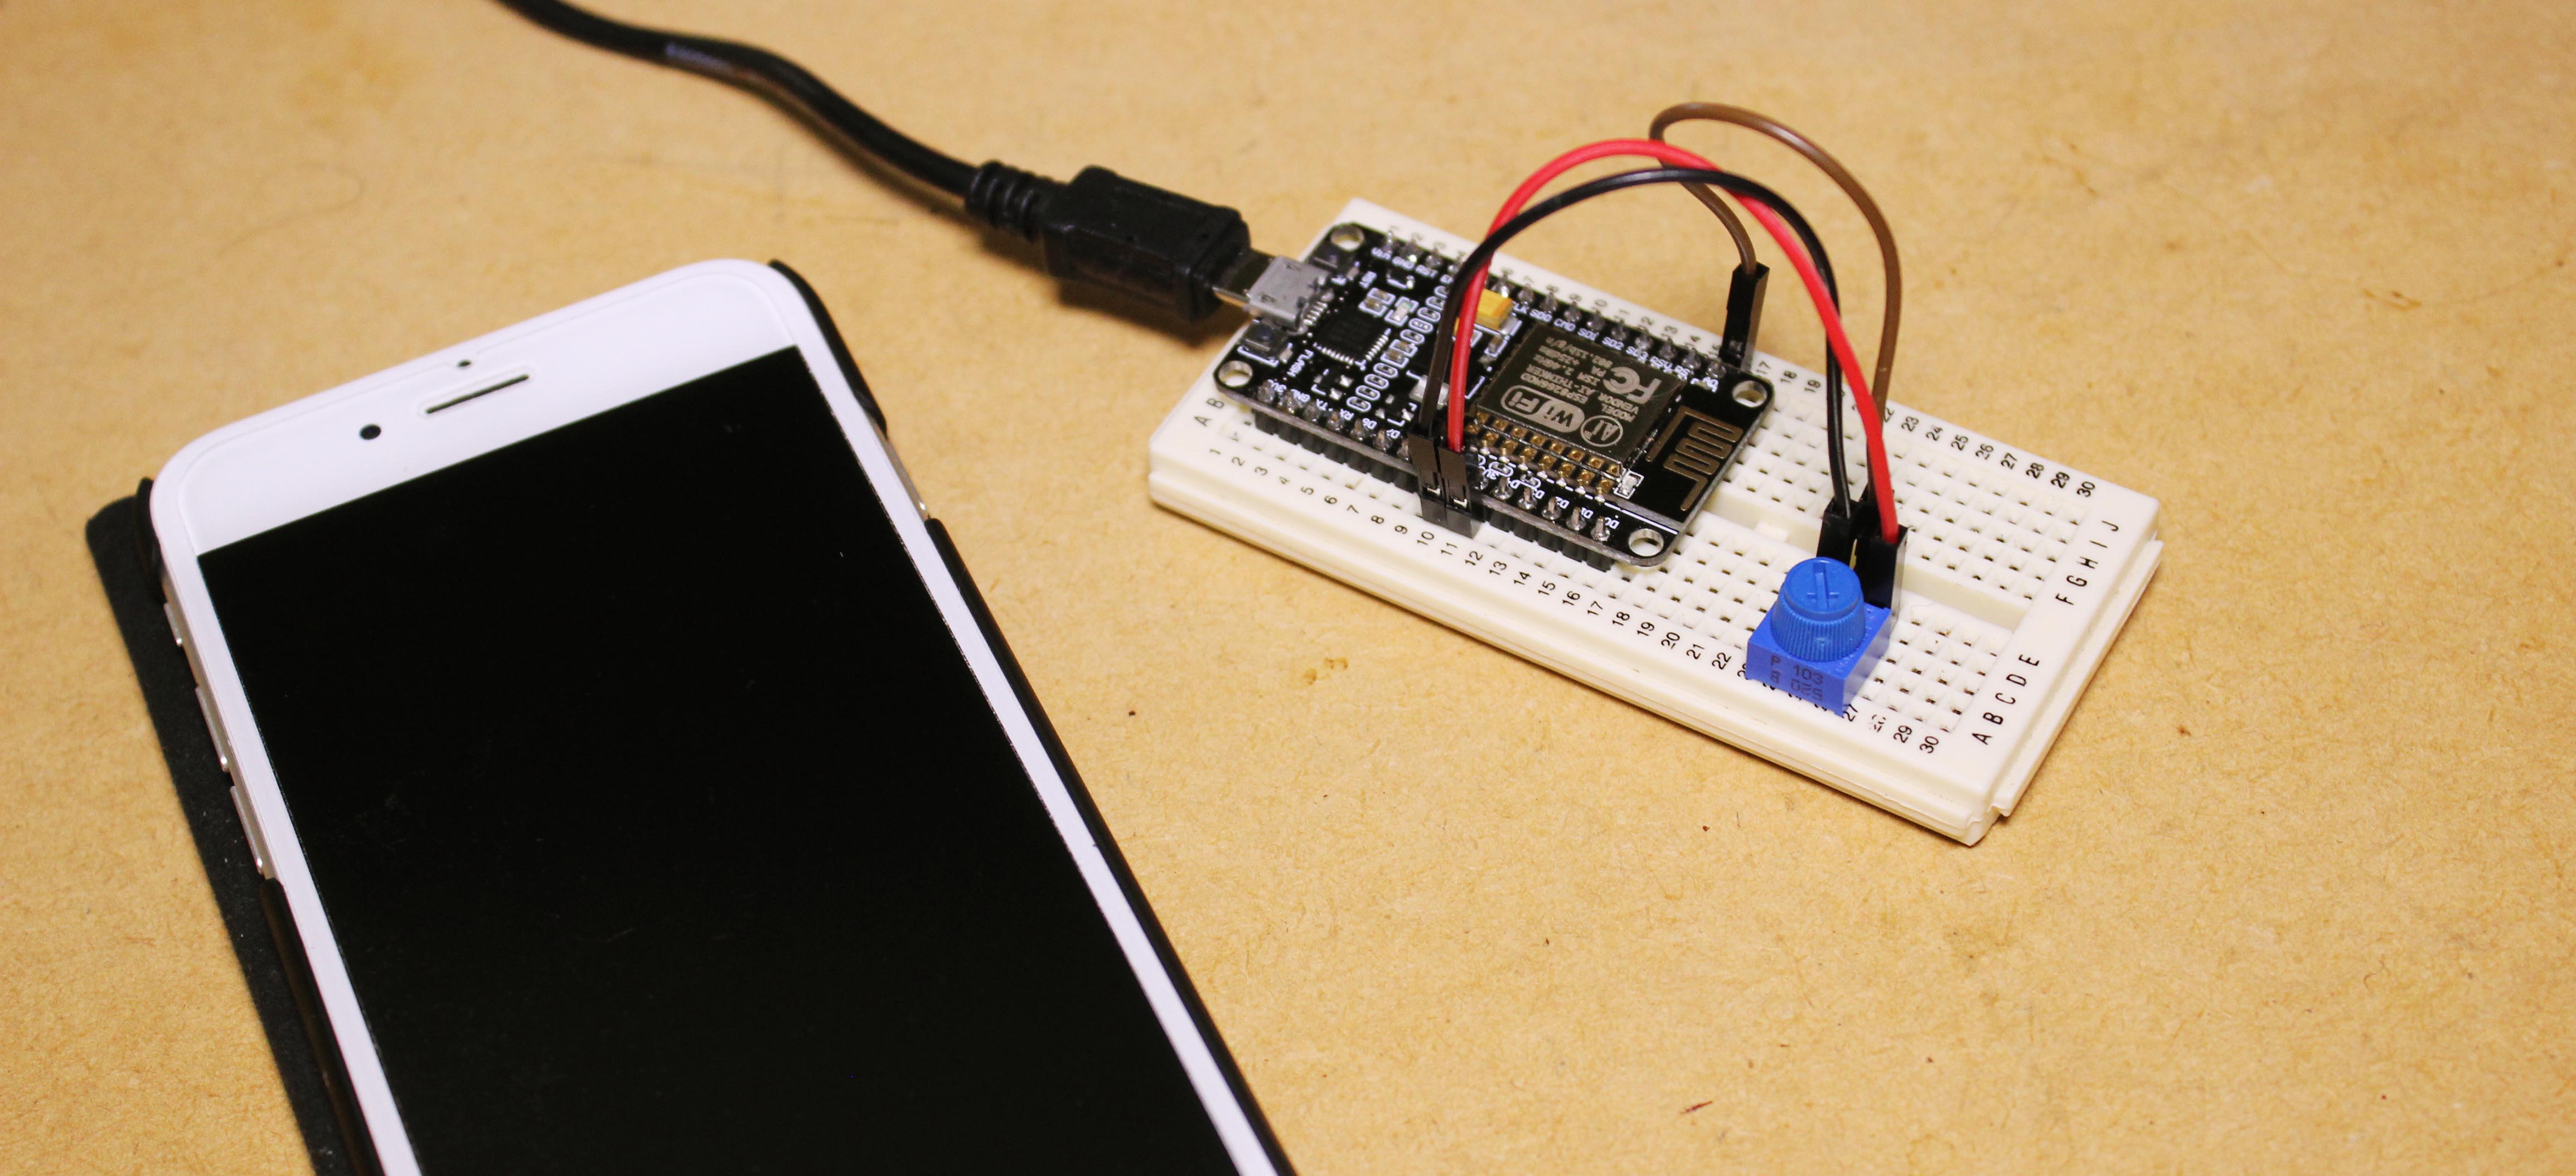
To begin we can insert the ESP8266 module into the breadboard followed by inserting the potentiometer and connecting the pins of the potentiometer to the 3.3volt pin, ground and the analog input. Now connect your ESP8266 module to a computer that has the Arduino IDE on it. Folowed by downloading the Blynk library, we can then install this library using the ‘Include library’ tool found under the ‘Sketch’ menu.
we can now download the Blynk App onto our mobile device, this is available on both IOS and android. With the app on your device you can launch it and either sign in with your existing account or create a new one. now you can create a new Blynk project and select the ESP8266 as the project device. and drag in the modules that you would like to use in your project and assign it to the pins of the board.
To complete the project you need to enter the Blynk project authentication token into the Arduino sketch and upload the code to the board. After pressing the run button in the application you’ll be able to control the IO of the board, or in this case you’ll be able to see the potentiometer value in a graph form.