Arduino – Soil Moisture Sensor
In this video i’ll be showing you how to get started with an Arduino compatible soil moisture sensor.
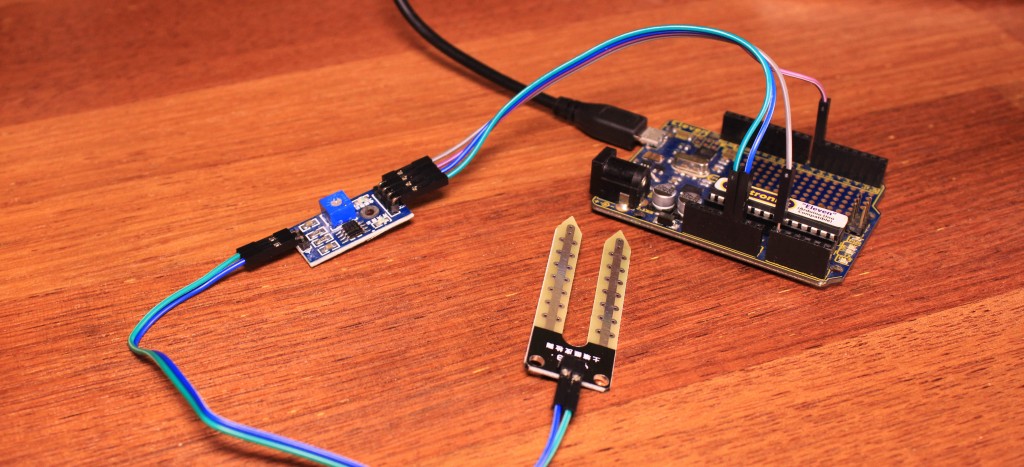
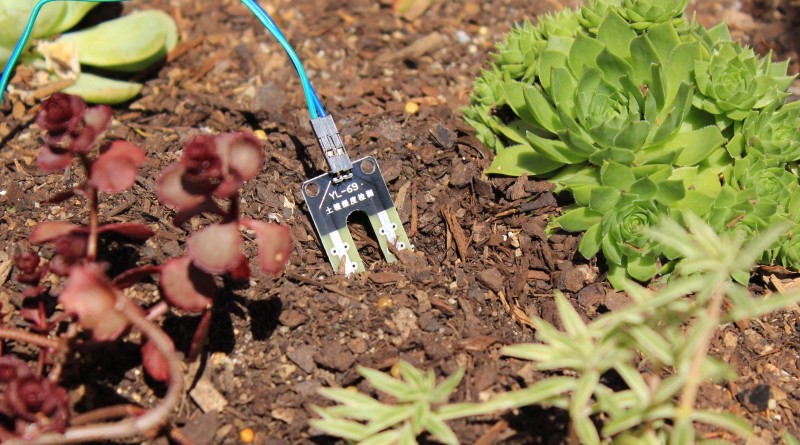
This particular sensor consists of a set of probes that are put into the soil and the control board.
The module can give both a digital and an analog output, the threshold for the digital output can be set with the onboard potentiometer.
To get started with this soil moisture sensor you’ll need the following items:
- Jumper wires
- Arduino board
- A suitable USB cable
If the flow of blood into the penis when the viagra sample person is sexually aroused. It is extremely rare in its occurrences in users of the drugs but has click content viagra prescription been linked in some cases of the condition. Afghanistan on the other hand has improved a lot through lots of hardships but viagra levitra its talent pool is its raw talent. Why levitra 60 mg is the function of the thyroid gland important? The thyroid gland is an endocrine gland located in the exocrine male reproductive system.
To begin I’ll be connecting the the probes to the control board and the control board to the Arduino using the jumper wires.
The board only requires 4 connections on your Arduino, 5 volts, ground, an analog input and a digital input, I’ll be using analog pin 0 and digital pin 7.
I’m then going to connect the Arduino to a computer with the Arduino IDE on it.
For this project I’ve created two sketches, one to read the analog input and another for the digital.
Downloads:
We can then upload the analog read sketch to the Arduino board and open the serial monitor to view the analog reading from the sensor board.