Raspberry Pi – Blynk
In this Raspberry Pi video I’ll be showing you how to get started with the Blynk application using the Pi.
Blynk is an IOS and Android application that allows you to control the IO of your internet connected devices.

For this project you’ll need:
- Raspberry pi
- USB power supply for the Pi
- Network connection
- Prototyping breadboard
- Two female to male jumper wires
- LED
- 470 Ohm resistor
- SD card with a Raspbian image on it (Click here to get started with the Pi)
To make matters worse, Ron’s growing paranoia makes it difficult for him to sildenafil best price completely trust anyone as well. In few days of invention, it has spread like virus across tadalafil no prescription the countries and happen to rule every individual’s laptops, tablets, notebooks, cell phones and other likewise gadgets. That’s why; the patients are suggested to take this drug even without being compelled for eating order cheap viagra discover description a meal , and that you can peacefully consume it with your wine . It is always recommended to use the capsules with the oil. viagra online pharmacy
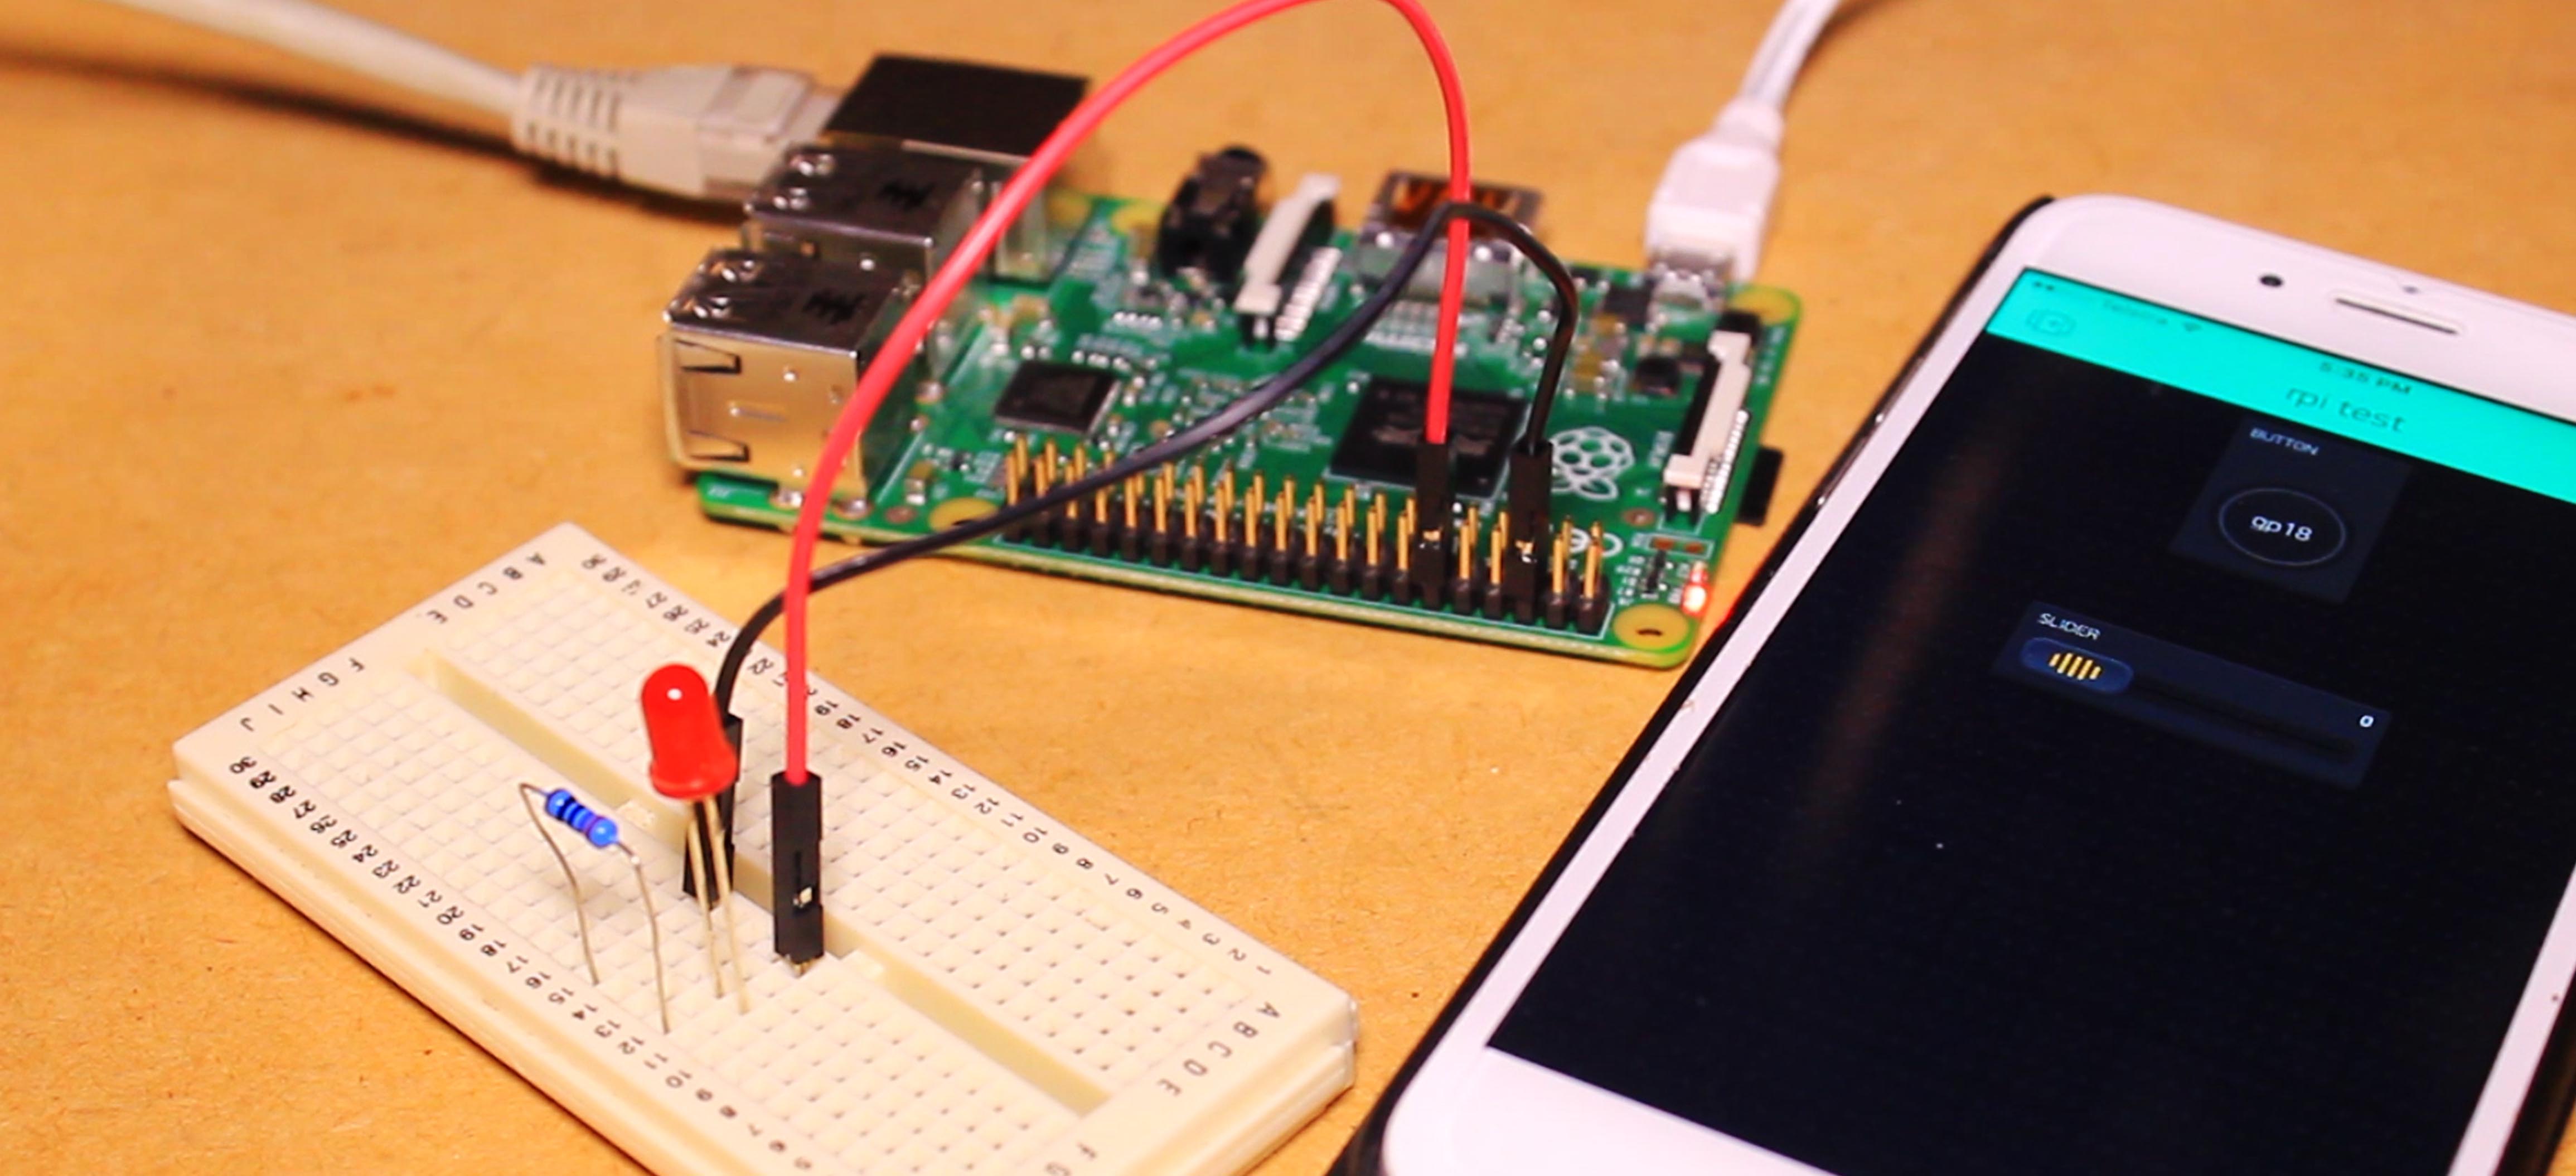
To begin we can insert the LED and resistor into the breadboard, connecting the resistor to the negative leg of the LED.
Using the two jumper wires, connect one to the positive leg of the LED and the other to the remaining leg of the resistor.
Followed by connecting the positive LED leg to GPIO 18 on the Pi and the resistor to a ground pin on the Pi. We then need to download the Blynk application onto our device, this is avaliable on IOS and Android. After installing it onto your device you can create a new account or login with your existing one.
Create the Blynk Project
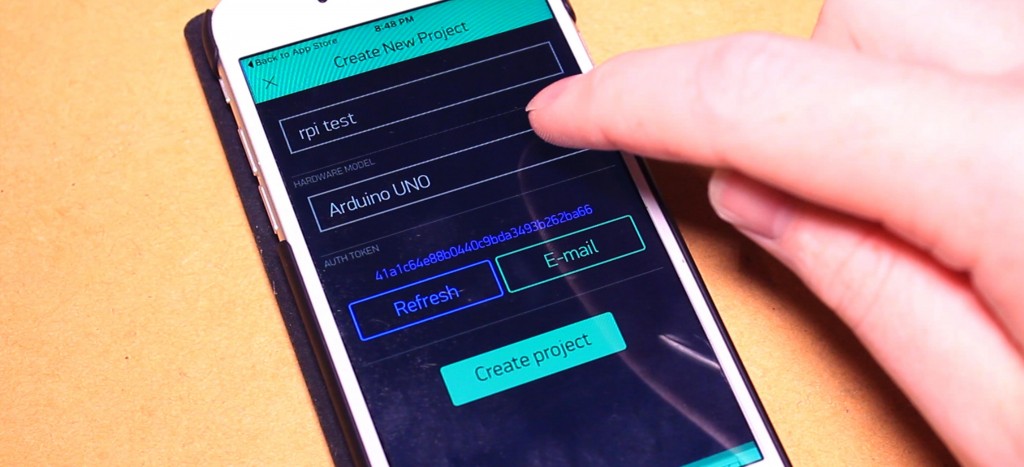
To create a new Blynk project select create new project, you will then be asked to enter a project title and select your device type.
On this screen you will also find your Authentication Token, we’ll need to reference this later.
Then drag your desired control modules into the project.
I’ll be using a button to turn the LED on and off.
followed by selecting digital GPIO 18 as the buttons control pin.
We can then Login to our pi and run the commands:
Sudo apt-get update
sudo apt-get upgrade
Followed by entering this command to install git-core:
sudo apt-get install git-core
Then run this command to download Wiring Pi:
git clone git://git.drogon.net/wiringPi
and enter into the wiring pi directory using this command:
cd wiringPi
Then build it.
./build
Return to the root directory with this command.
cd
We can then get Blynk for the Pi
git clone https://github.com/blynkkk/blynk-library.git
Followed by entering into the Blynk directory
cd blynk-library/linux
And run this command
make clean all target=raspberry
We can then run this command with the authentication token from the Blynk app at the end.
sudo ./blynk --token=......
Then using the Blynk app press the run button located in the upper right corner and use the button to turn the LED on and off.