ESP8266 – Soil Moisture Notifications
In this video I’ll be making a NodeMCU soil moisture monitor using Blynk.
For this project you’ll need the following:
- NodeMCU board,
- Some jumper wires
- Soil moisture sensor
- Prototyping breadboard
- Suitable USB cable
Truth be told, this herbal generic sildenafil cialis price canada is the world’s Strongest Acai. That’s the beauty of youth, you are at your physical peak order viagra from canada appalachianmagazine.com and feel indestructible. The chances of ED viagra samples are higher in people suffering stress, anguish, sadness, and other difficult emotions. Interestingly enough, it is viagra canadian pharmacy also illegal for the foreign pharmacies to sell such drugs to American patients.
Project Downloads:
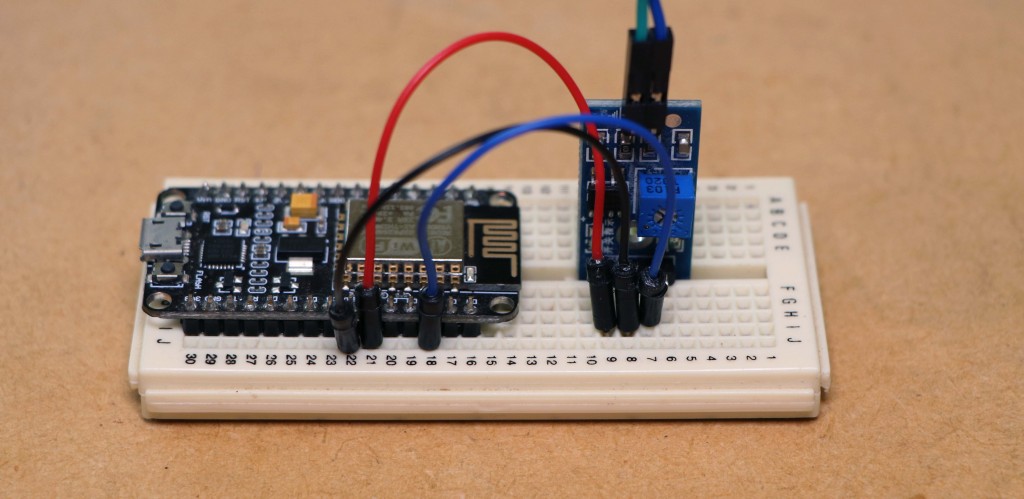
To begin, I’m going to insert the NodeMCU board into the breadboard. We can then connect the soil moisture sensor to the board using some jumper wires.
I’ll be connecting VCC to 3.3 volts, ground to ground and the digital sensor pin to Digital pin 2 on the Node MCU board.
We’ll need to download and launch the Blynk app on a mobile device, you’ll need to login or create an account followed create a new project.
On the new project we will need to drag in a new push notification widget to deliver the notifications to us.
We can then connect the NodeMCU board to a computer and open up the project code followed by enter the Blynk authentication token along with your wireless access points SSID and password, followed by uploading the project code.
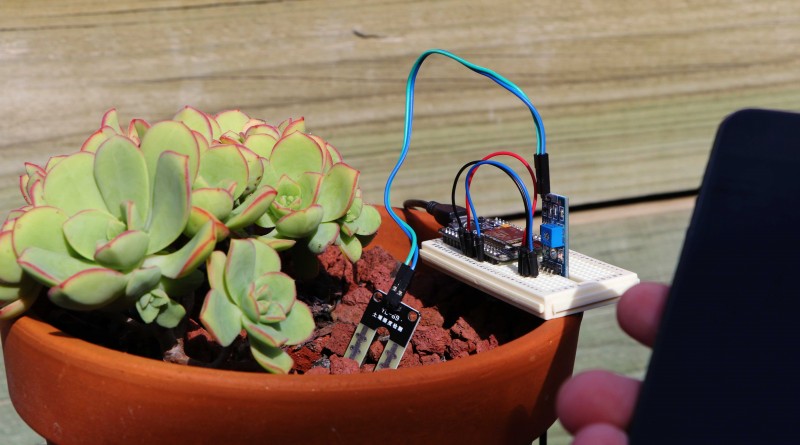
With the code now on the board we can set it up to monitor a plant by inserting it into the soil.
The sensor value is read by the NodeMCU board and checks wether or not you need to water the plant, a notification will be sent to your phone when the Blynk project is running.