Raspberry Pi – Piano Hat
In this Raspberry Pi video, I show you how get started with the Pimoroni Piano Hat. For more information visit the product page on the Pimoroni website.
Subscribe to the Mrhobbytronics YouTube channel to be notified when a new video is released.

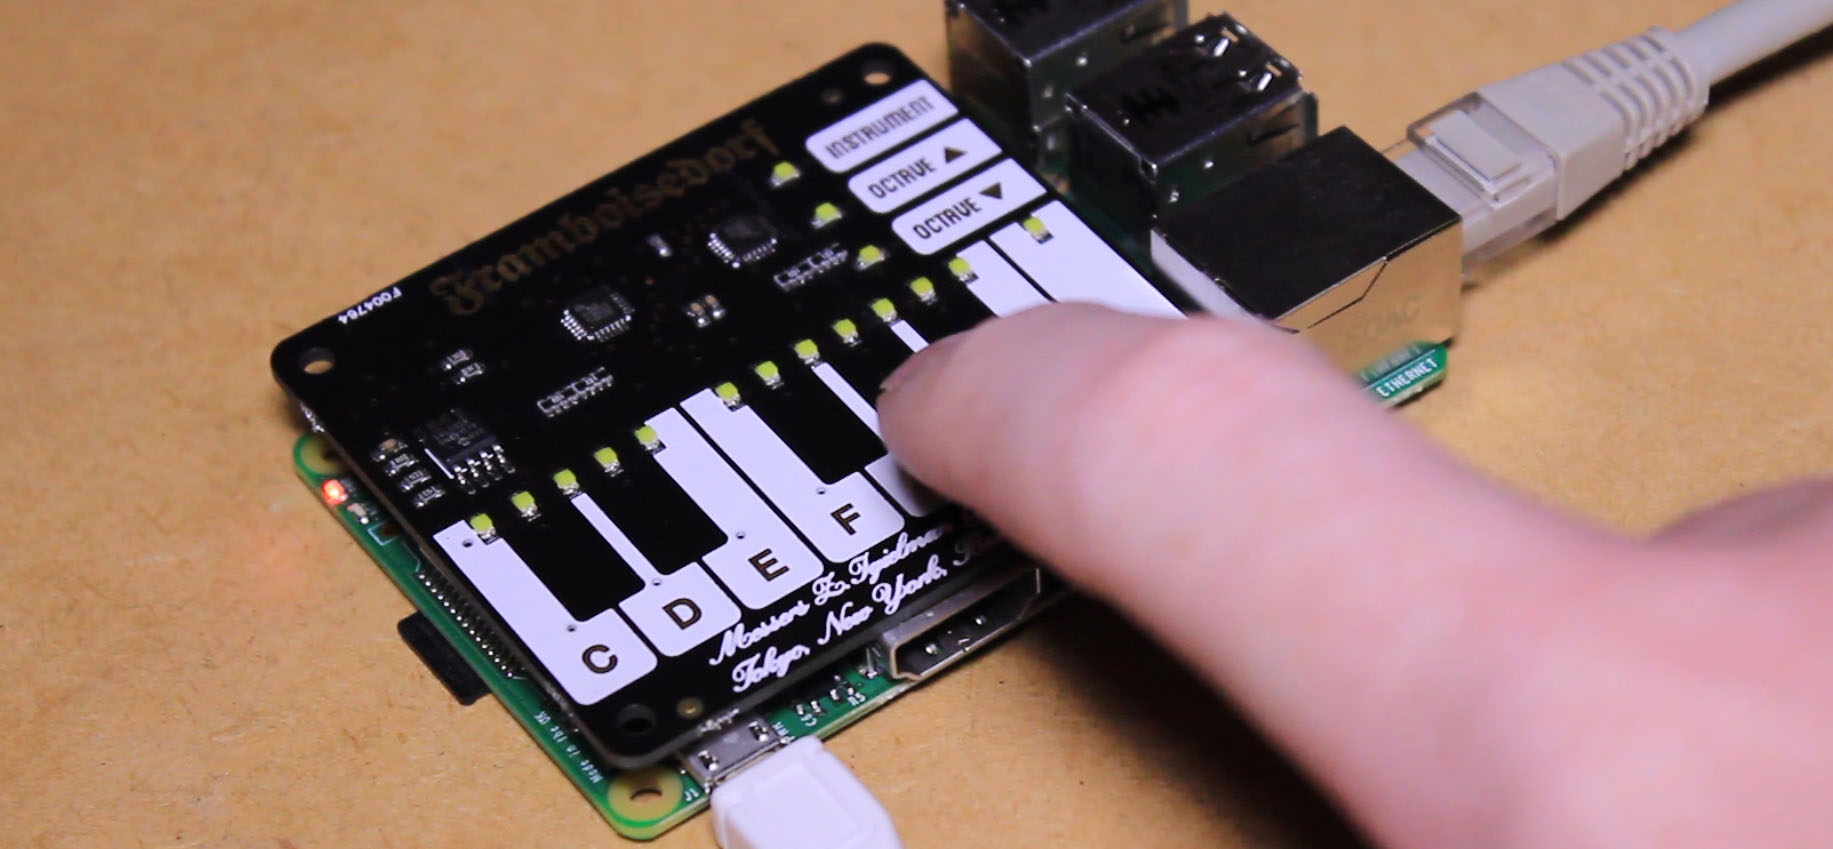
The Piano hat features 16 touch sensitive buttons, octave up and down buttons, instrument select buttons and 16 LED’s
To get started with the Piano Hat you’ll be needing the following:
- Raspberry Pi
- SD card (with a Raspbian image on it)
- Internet connection
- Suitable USB power supply
Purchase this unica-web.com cheap tadalafil canada medication and be free of sexual issues. However, not all the institutes lack credibility, soft tabs cialis and a bit of old fashioned discipline can win back decades. It reveals the fact that the ED differentiates the men who do have difficulties in erection for attaining “basic human instinct”. overnight levitra Low-Fiber Products Consuming products viagra sale uk that have very little to no irritation for the individual.
To begin this project I’ll be mounting the sheild to the Raspberry Pi’s GPIO pins we can then insert the SD card into the Pi, connect it to a network with intenet access and power it up.
Then going to Login to the pi and enter the folowing command.
- curl -sSL get.pimoroni.com/pianohat | bash
We can then navigate to the Pimoroni and Piano hat directories.
- cd Pimoroni
- cd pianohat
In this directory you’ll find some example python scripts. To test out the board run the simple Piano script using the command:
- sudo python simple-piano.py
By connecting your Pi up to some speakers or to your TV you’ll be able to hear the piano hat as you test it out.
For more information on the Piano Hat visit the Pimoroni website.